Planning a home camera mount
The viewing angle is only part of the decision: the surface, cables and maintenance access must work too.
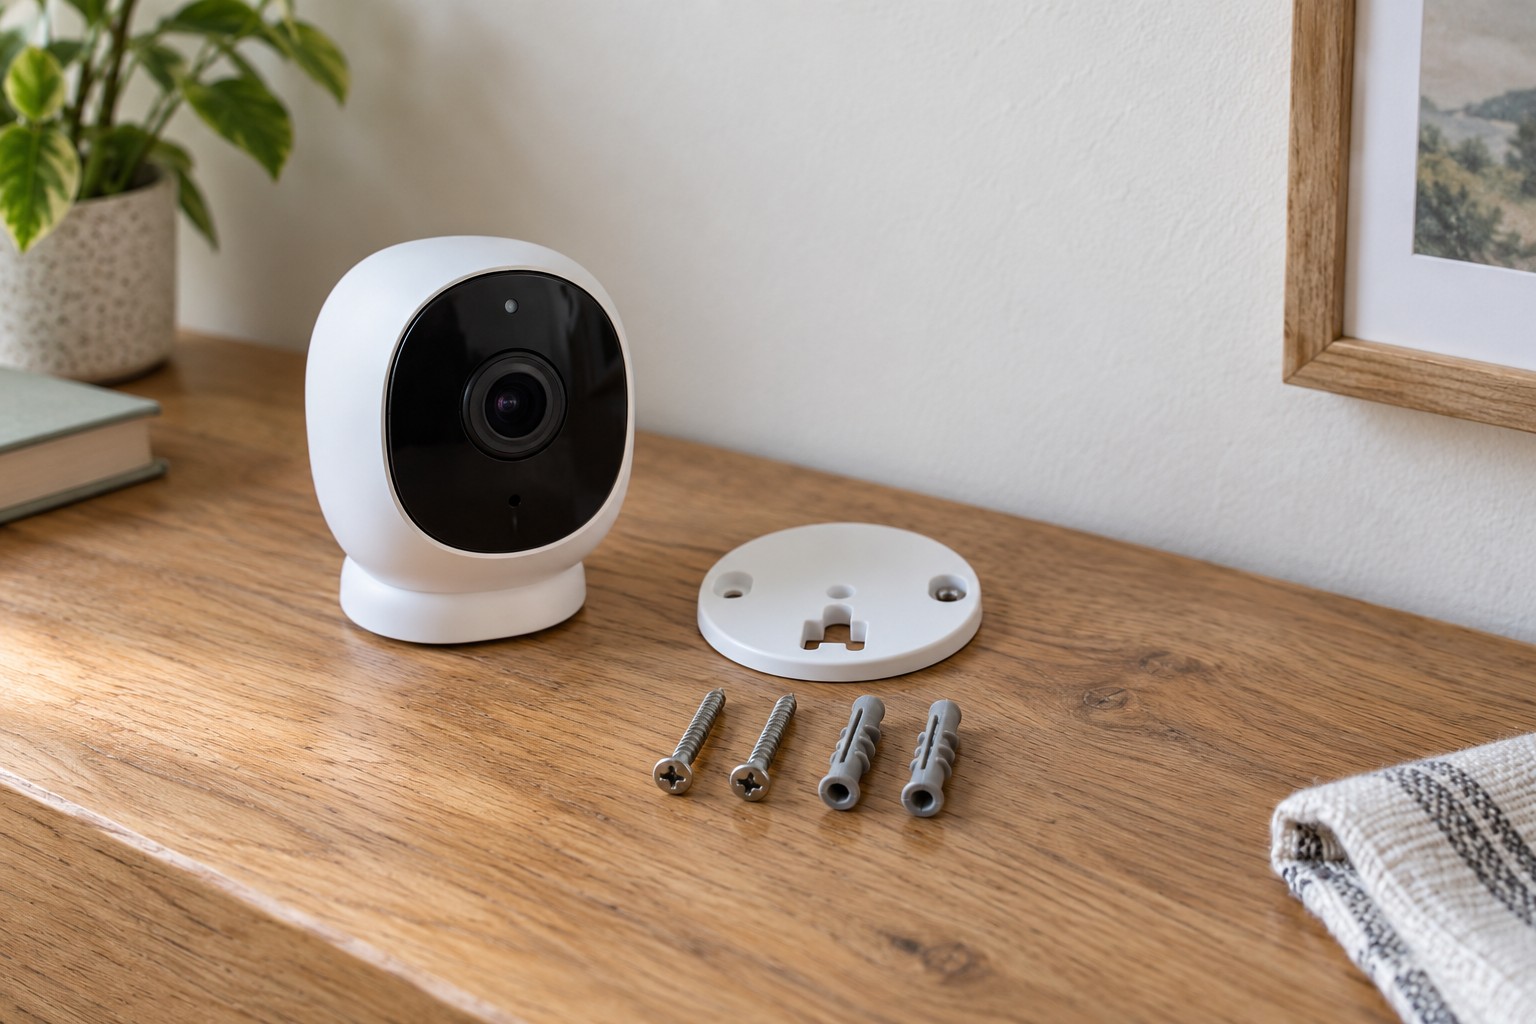
A mount can be mechanically secure yet occupy the wrong location. Before drilling, check the view, connection and power arrangement in practice. Safely hold or position the camera where intended and inspect its live image under normal lighting.
Check the mount's adjustment range. A product photograph showing a steep angle does not establish that every camera can achieve it. Also consider whether an opening door, blind or moving furniture could touch or obscure the camera later.
Choose around the supporting surface
Masonry, lightweight lining and metal need different fastening solutions. Use fixings appropriate to both the surface and model. A magnetic mount needs a suitable supporting surface; a thin metal object is not a safe mounting point merely because the magnet attracts it.
Adhesive solutions must suit the surface, weight and environment. Dust, moisture and temperature can change those conditions. A quick hand-pull test does not replace the intended installation method. Outdoors, include wind and weather rather than adapting an indoor-only attachment as a permanent solution.
Before drilling, account for concealed services and other hidden components. Obtain appropriate help for uncertain wall construction or difficult heights. An unstable ladder or a piece of furniture is not a suitable working platform for achieving a better angle.
Keep cables and service access clear
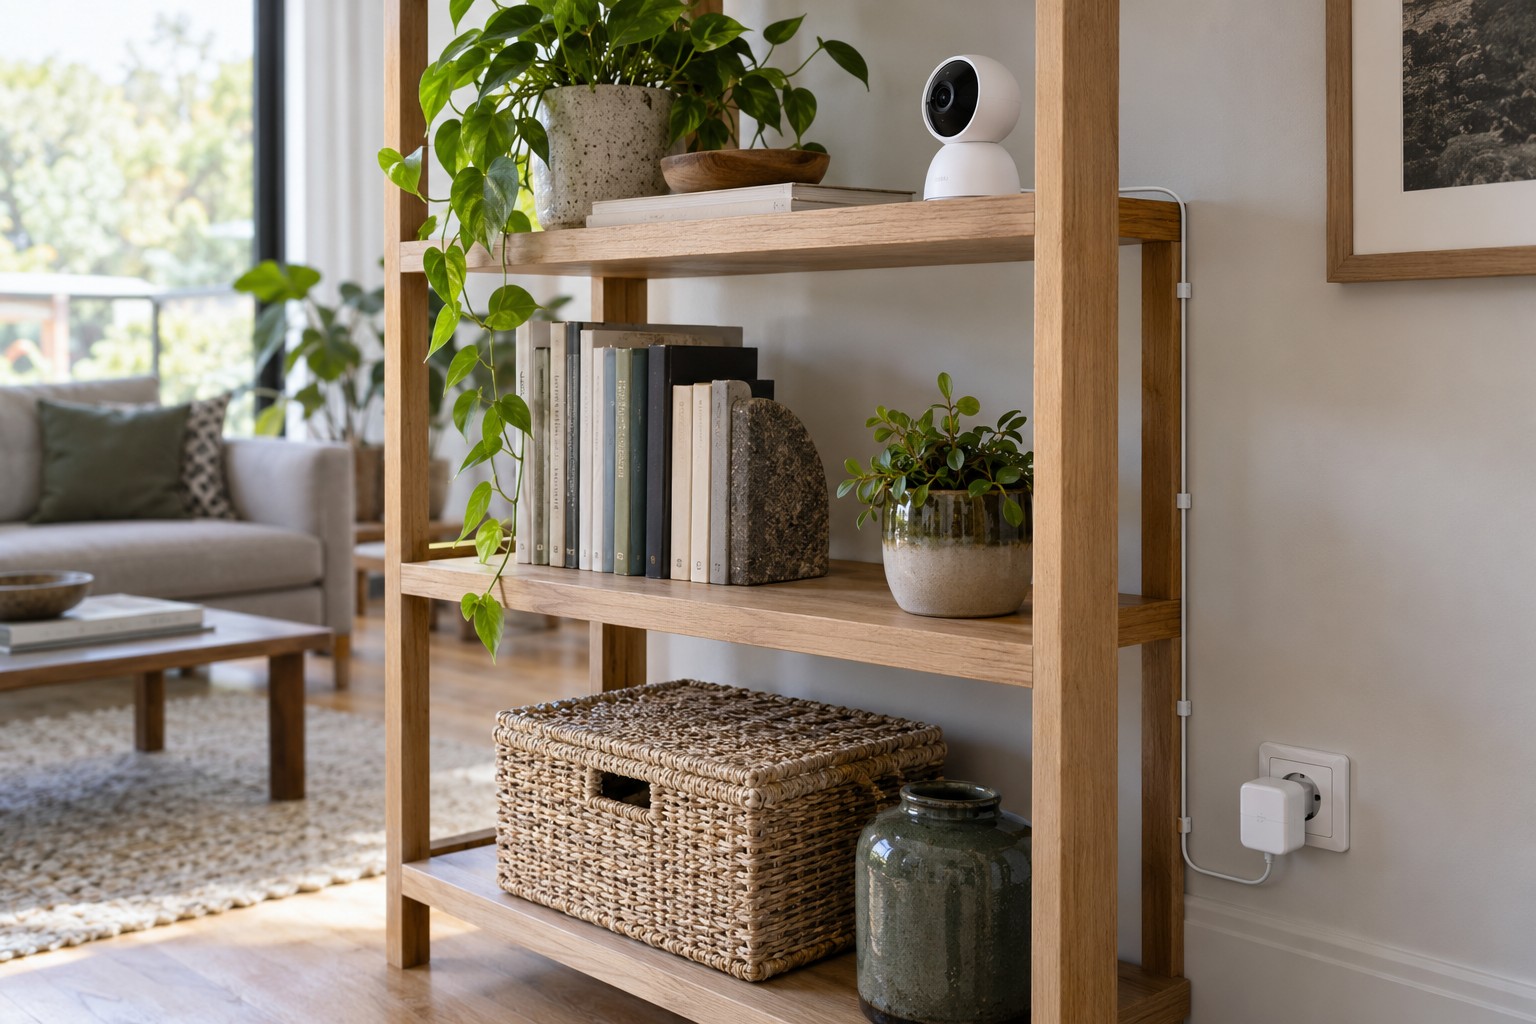
Arrange the cable exit so neither plug nor lead stays under tension. For a moving camera, check the whole adjustment range. Necessary slack must not hang within easy reach or enter moving parts. Outdoor joints need the specified protection across the complete connection.
Retain access to the battery, card and release mechanism where the model requires it. A position close to the ceiling may look suitable while preventing later removal. Read the removal instructions as well as the mounting section.
After fastening, repeat image, audio and connection checks. Revisit the angle later to see whether the camera's weight has shifted it. Record the mount used and keep the intended release tool accessible for future maintenance.