Positioning a microphone for calls
Distance, speaking direction and desk noise matter more than keeping the recording level as high as possible.
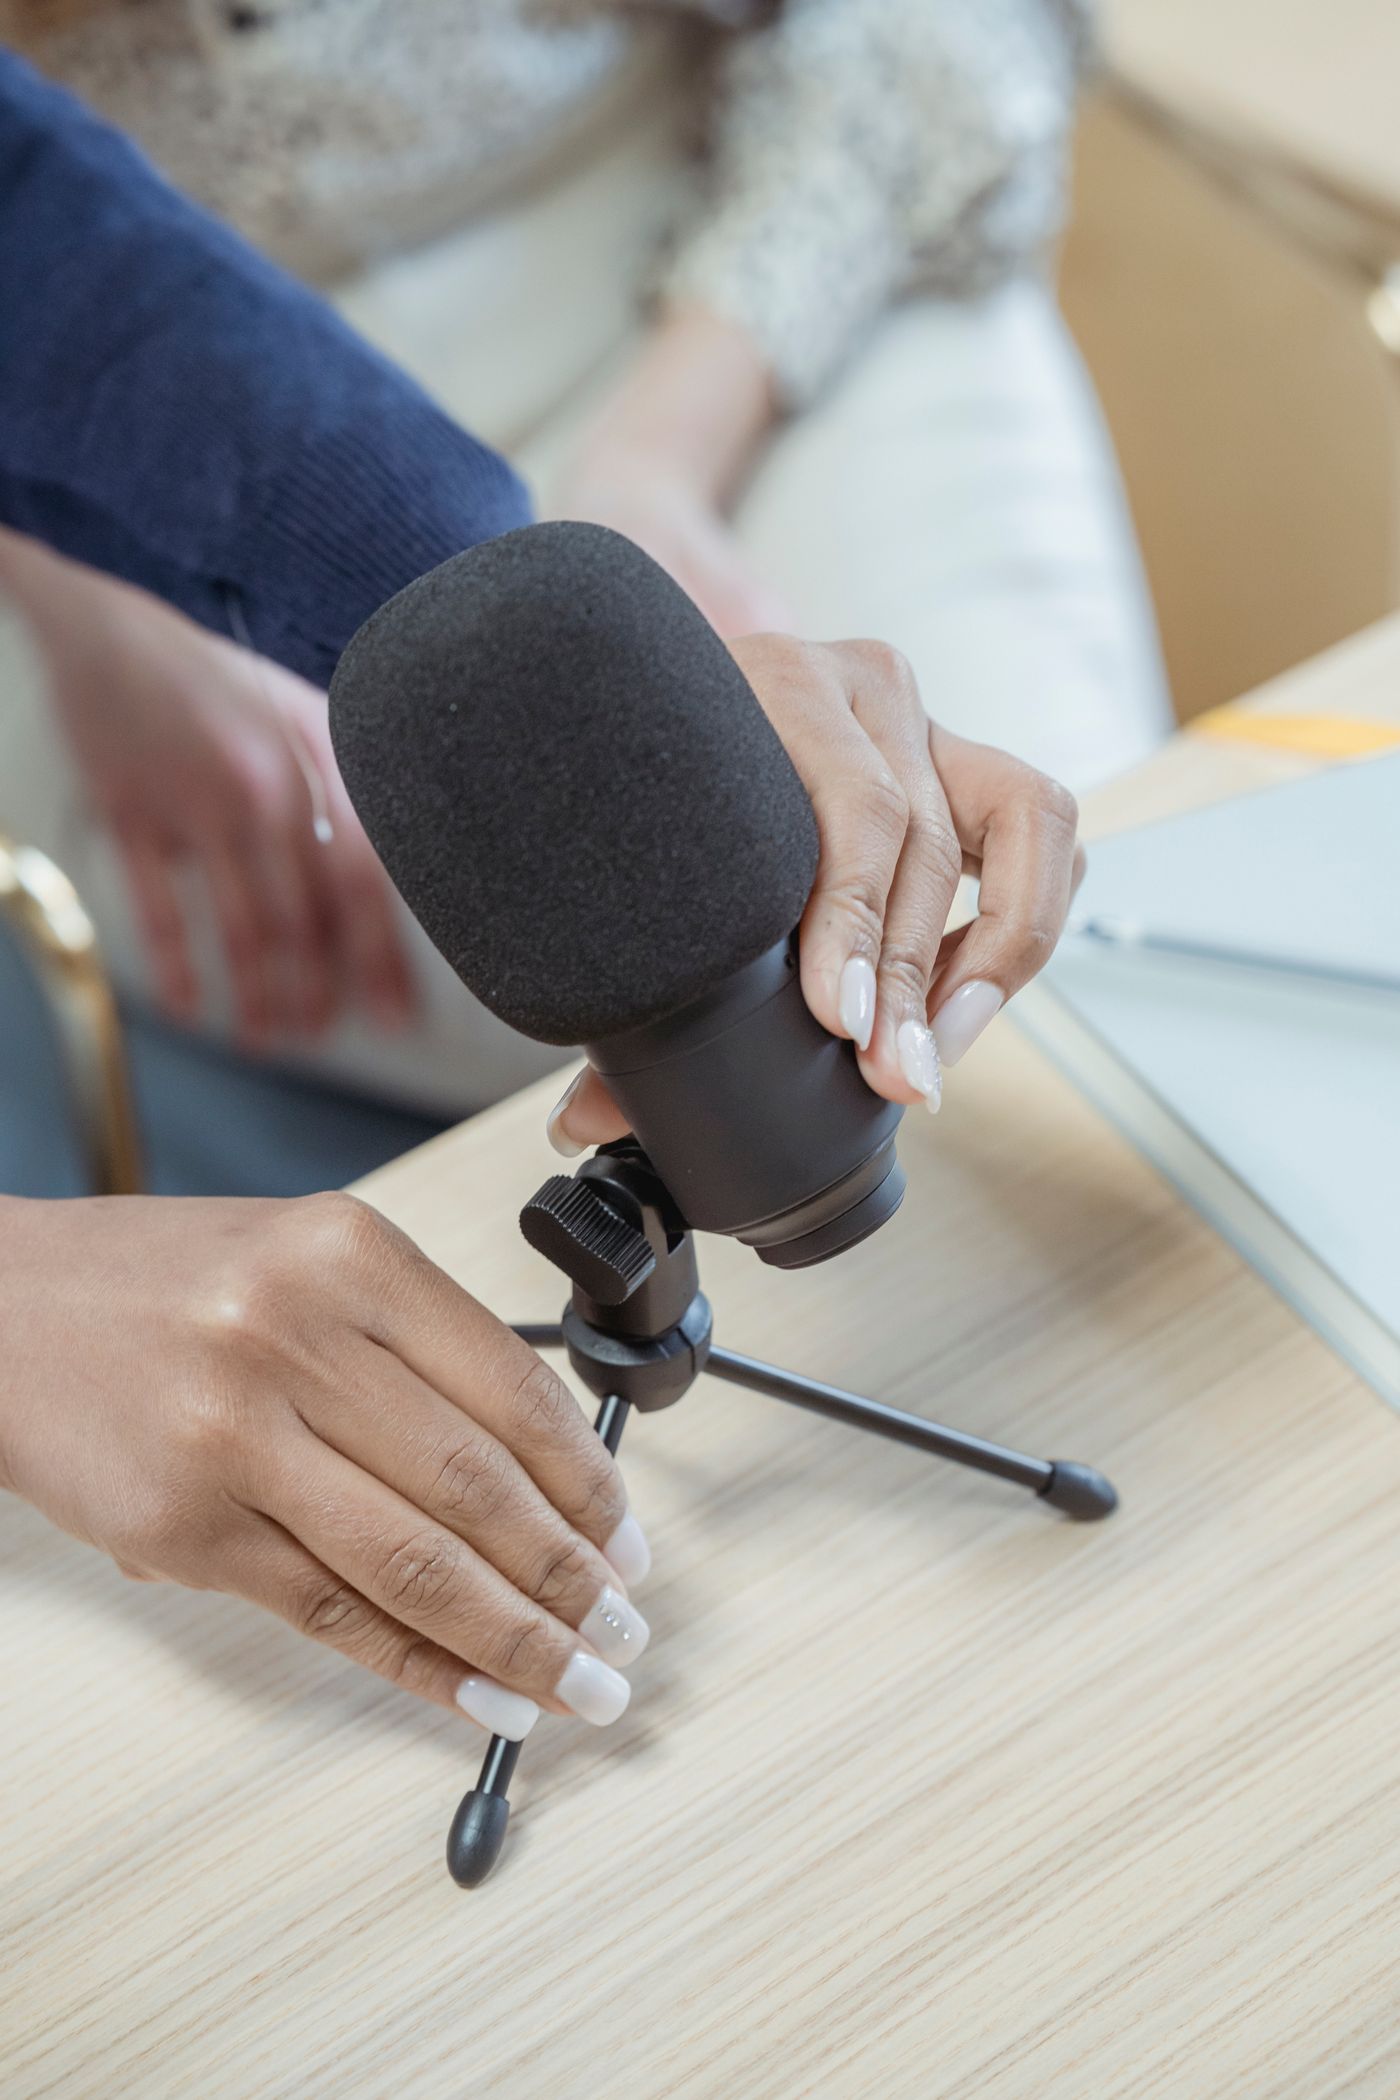
An external microphone does not automatically improve calls if it sits far away beside a noisy keyboard. First establish a useful balance between the voice, room sound and other noise. Raising gain often increases unwanted sound along with speech.
Check the model's speaking direction. Some microphones are addressed at the end or top, while others receive speech from the side. An upright body does not reliably reveal the intended direction. Read the markings and instructions before trying to correct the result in software.
Start with a short test of your own voice
Select the microphone explicitly in the calling application and an appropriate local preview or recording tool. Otherwise the laptop microphone may remain active without you noticing. Record only your own voice and delete the test afterwards if desired.
Speak naturally through several sentences containing quieter and more emphatic passages. Compare positions within the manufacturer's recommended range. A closer position can improve the balance of direct speech against room reverberation, but it must suit the microphone type and pickup pattern.
Change distance before raising gain dramatically. If the voice sounds reverberant from farther away, additional level does not remove that reverberation. Set sensitivity so ordinary speech is clear and louder moments do not clip. A constantly maximum meter reading is not a quality target.
Identify desk and keyboard noise
Type during a short test and move the mouse as you would in a real call. A stand on the same desktop may pick up impacts and vibration. Another position or a suitable isolating mount may help, provided it fits both the microphone and its support.
A microphone arm should not obstruct the display or pull on cables when adjusted. Check its load limit and suitability for the desk edge. Leave enough slack for the movement actually required without allowing loops to enter joints.
Orientation can matter too. With a directional microphone, a distracting source may be positioned towards a less sensitive area. Consult the documented pickup pattern. Do not assume the rear of every microphone rejects sound in the same way.
Consider playback and the room
Loudspeakers close to the microphone can feed the other person's voice back into the call. Headphones are one possible solution if appropriate to the task. Check application input and output selections as well; accidentally duplicated audio paths can make diagnosis confusing.
A hard empty room behaves differently from a furnished one. Before buying extensive acoustic treatment, try bringing the microphone closer and avoid a strongly reflective corner. Existing curtains or soft furnishings form part of the acoustic environment, but they do not replace assessment of the actual problem.
Noise suppression and automatic gain control can help, yet sometimes alter quiet syllables or behaviour during pauses. Compare settings individually in the actual application. A good local recording does not prove that identical processing is active during a call.
Finish with a short conversation with someone who agrees to help. Ask specifically about intelligibility, reverberation and keyboard noise rather than general sound quality. Record the useful position and selected devices so the arrangement can be restored after the desk is tidied.