Lighting kitchen worktops
A ceiling light does not automatically illuminate a chopping board. Your position between the fitting and the worktop changes the result.
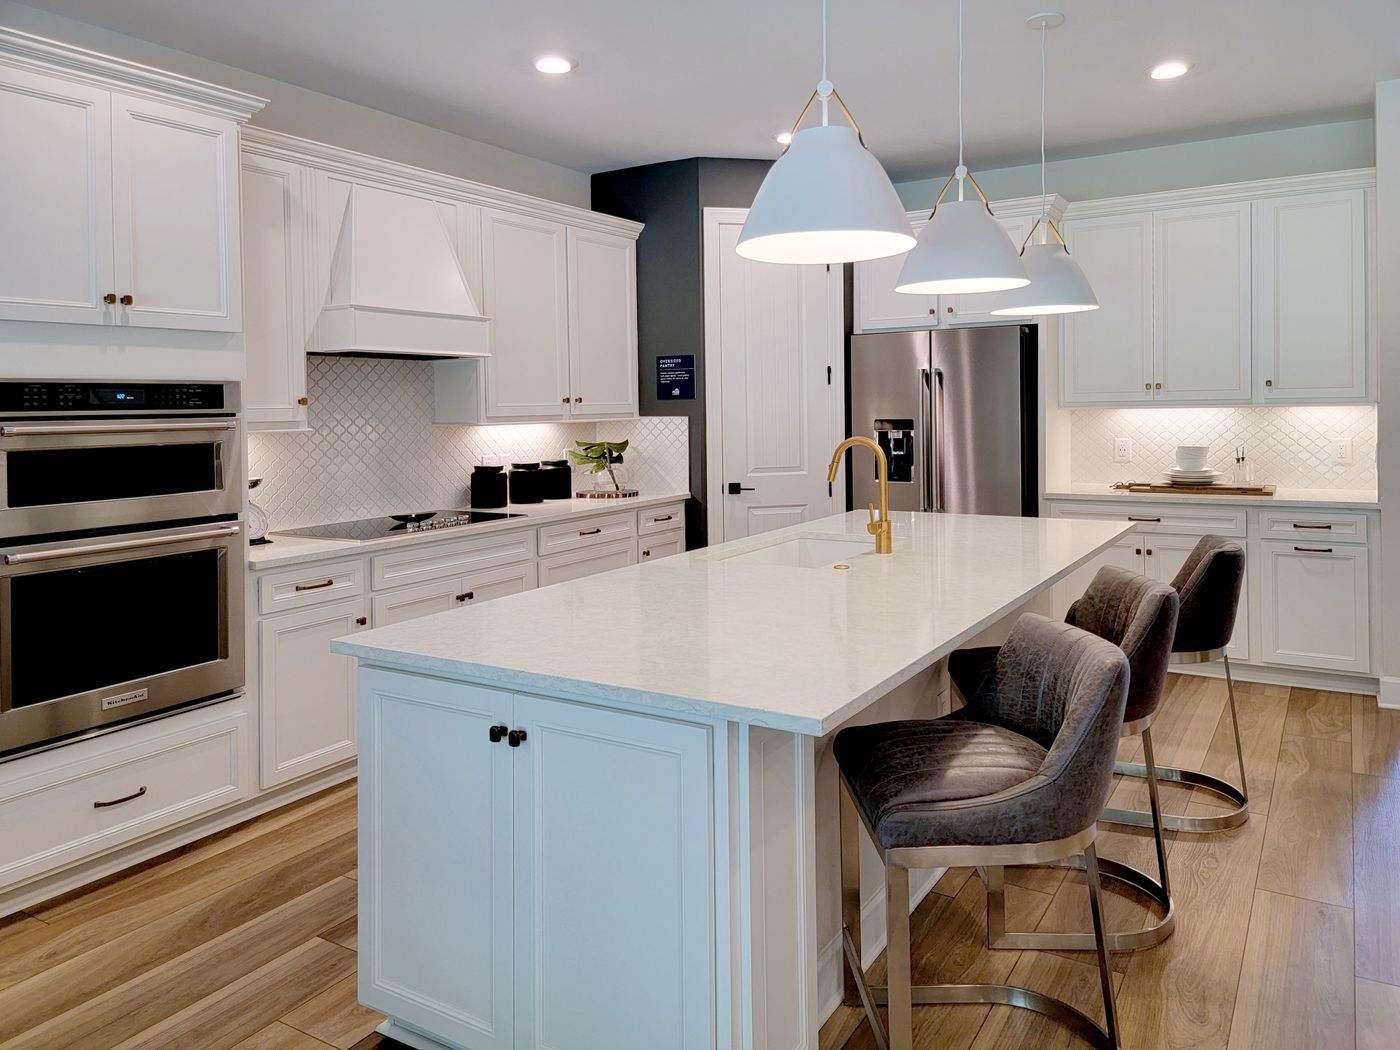
If the only kitchen light is on the ceiling behind you, your body casts a shadow over the worktop. Increasing brightness in the same position only partly addresses this geometric problem. Under-cabinet lighting can bring illumination directly to the surface being used.
Start by listing the places where tasks actually happen. You might chop beside the hob, read recipes at a clear corner and use a mixer beneath a different cupboard. An evenly lit run of cabinets is not enough if the main preparation space sits in darkness beside it. Include pull-out work surfaces and changes caused by open cupboard doors.
Check the position before fixing it
For an under-cabinet fitting, try a temporary lighting comparison using a suitable product operated safely. Compare a position closer to the front with one further back. Light nearer the front often reaches the work area more effectively, whereas a fitting close to the wall may mainly highlight the splashback. IKEA's kitchen lighting guidance also explains the benefit of placing task light in front of the person working.
Inspect the result both standing at the counter and sitting at the dining table. Visible LED points or a bright edge can cause glare from a seated position even when the worktop looks well lit. A suitable shield or diffuser changes that effect. On a glossy counter, the source itself may be reflected; moving it can be more useful than simply reducing brightness.
Follow the particular system's mounting instructions, heat clearances and environmental restrictions. An indoor strip is not automatically suitable for splashes, heat or steam because it fits beneath a cupboard. Do not route cables over cooking areas, pinch them in drawers or conceal power supplies where they cannot be reached. Fixed electrical connections should be professionally planned and installed.
Look across the whole working area
Several short fittings can leave dark gaps between their beams. Check the full usable length, including corners beneath wall cupboards. One attractive photograph does not show whether ingredients and labels are easy to see in every normal working position.
Separate control of task lighting and general room lighting is often useful. If dimming is wanted, the light, driver and controller must be compatible. Where scenes are available, save a sufficiently bright working setting and a lower background setting rather than correcting a decorative scene each time you cook.
After installation, test with a chopping board, measuring jug and an open recipe. Look for hand shadows, reflections and controls that are awkward to reach. The aim is to illuminate the actual work area without requiring you to change your normal position to suit the light.