Adding an LED strip to a shelf
Measure the route to the power supply as well as the shelf width, and check whether the individual light points will be visible.
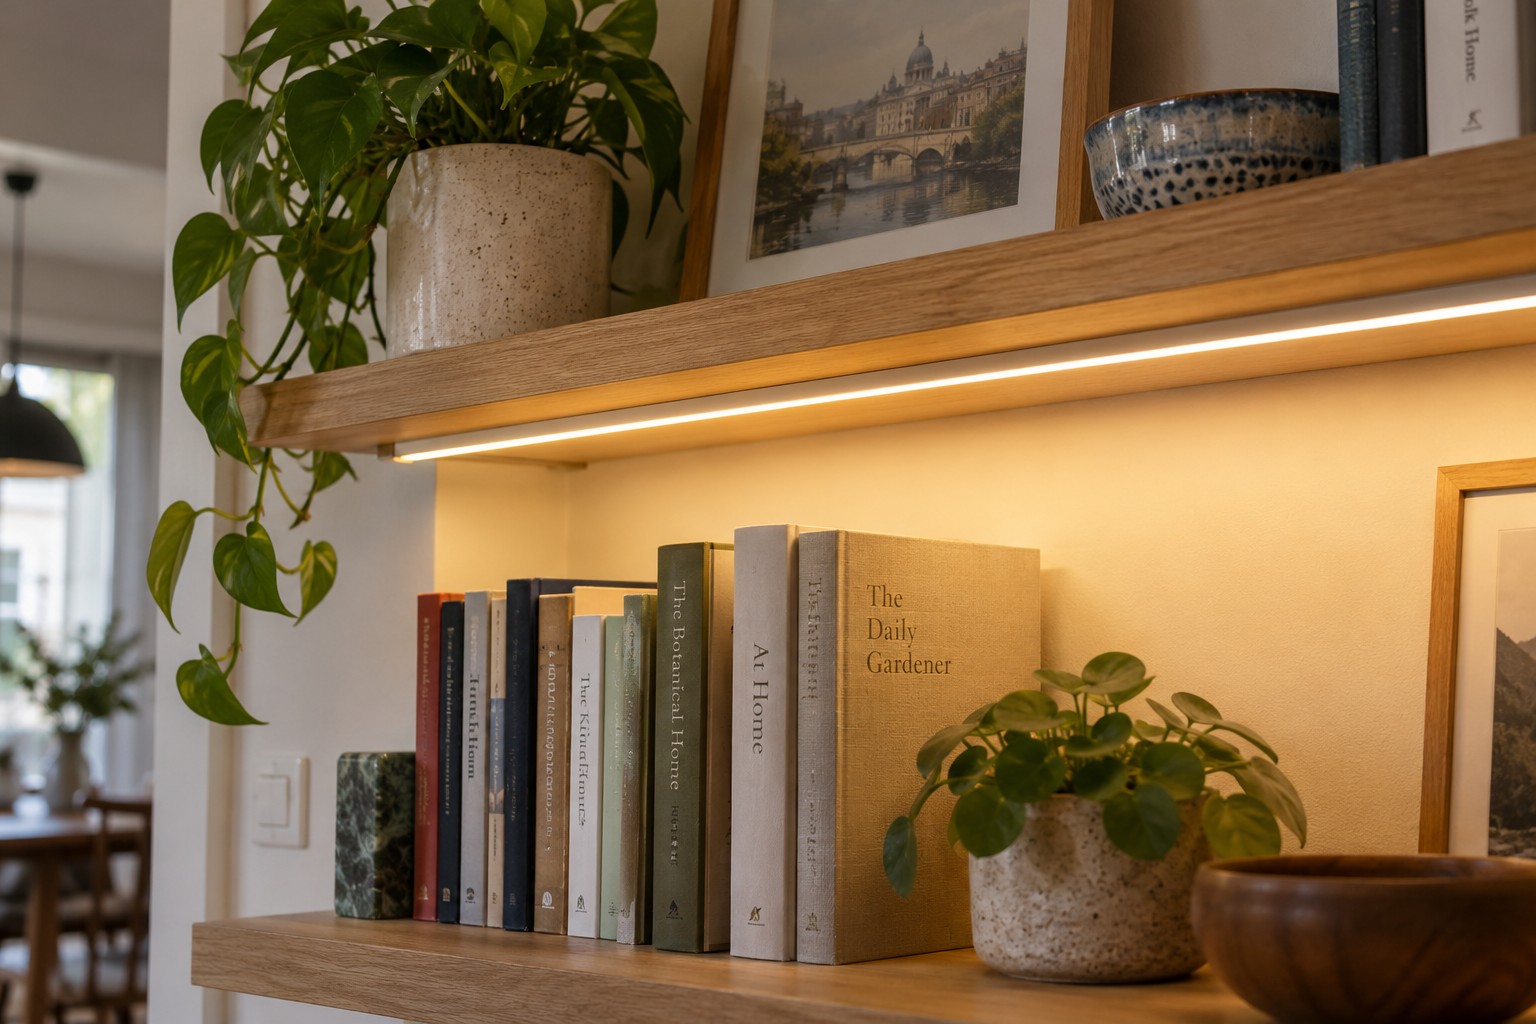
An LED strip can highlight a shelf edge, brighten the back panel or illuminate objects in individual compartments. These effects require different positions. Decide what the light should do before peeling off the adhesive backing.
A strip facing down from the underside of a shelf mainly lights the objects below it. A strip facing the back panel creates indirect light, with the result strongly affected by the panel's colour and distance. A dark backing may produce a much more subdued effect than a product photograph taken against a white wall.
Plan the complete route
Measure the usable length of each compartment and the transitions between levels. Add the route to the controller, power supply and socket. The system's permitted total length matters, not just the amount of strip on the roll. Extensions from different ranges may look similar while being mechanically or electrically incompatible.
Not every strip can be shortened. For models designed to be cut, use only the marked cutting positions and the manufacturer's instructions. Philips Hue explicitly notes that cutting is supported only on certain strips and at the designated points. A leftover piece cannot necessarily be reconnected. Establish this before making the first cut and disconnect power before working on the strip.
Corners also need planning. Folding the strip or bending it too sharply can damage its conductors. Use supported connectors and follow the stated bending limits. Keep the power supply accessible and ventilated rather than hiding it beneath fabric or tightly packed books.
Switch it on before committing to adhesive
Temporarily lay out the strip in a way permitted by its instructions, then inspect it from the room. Individual bright points can be particularly visible when looking up at a high shelf. A suitable covered profile or a recessed position may reduce this. The profile must match the strip's width, heat requirements and mounting method.
Test the lighting with the objects that will actually occupy the shelves. Glass reflects individual LEDs, books block light and tall ornaments can cast hard shadows. An empty shelving unit therefore gives an incomplete preview of the finished effect.
Prepare a clean, dry fixing surface according to the system's directions. Check compatibility with painted or delicate finishes, especially in rented accommodation. Leave a small, neatly routed amount of slack at connectors so that they are not under tension. When the shelf is rearranged later, books and cupboard doors should not be able to damage the strip or pinch its wiring.