Planning cable routes for a projector
Required length includes the safe route, connector clearance and servicing access, not just the direct distance.
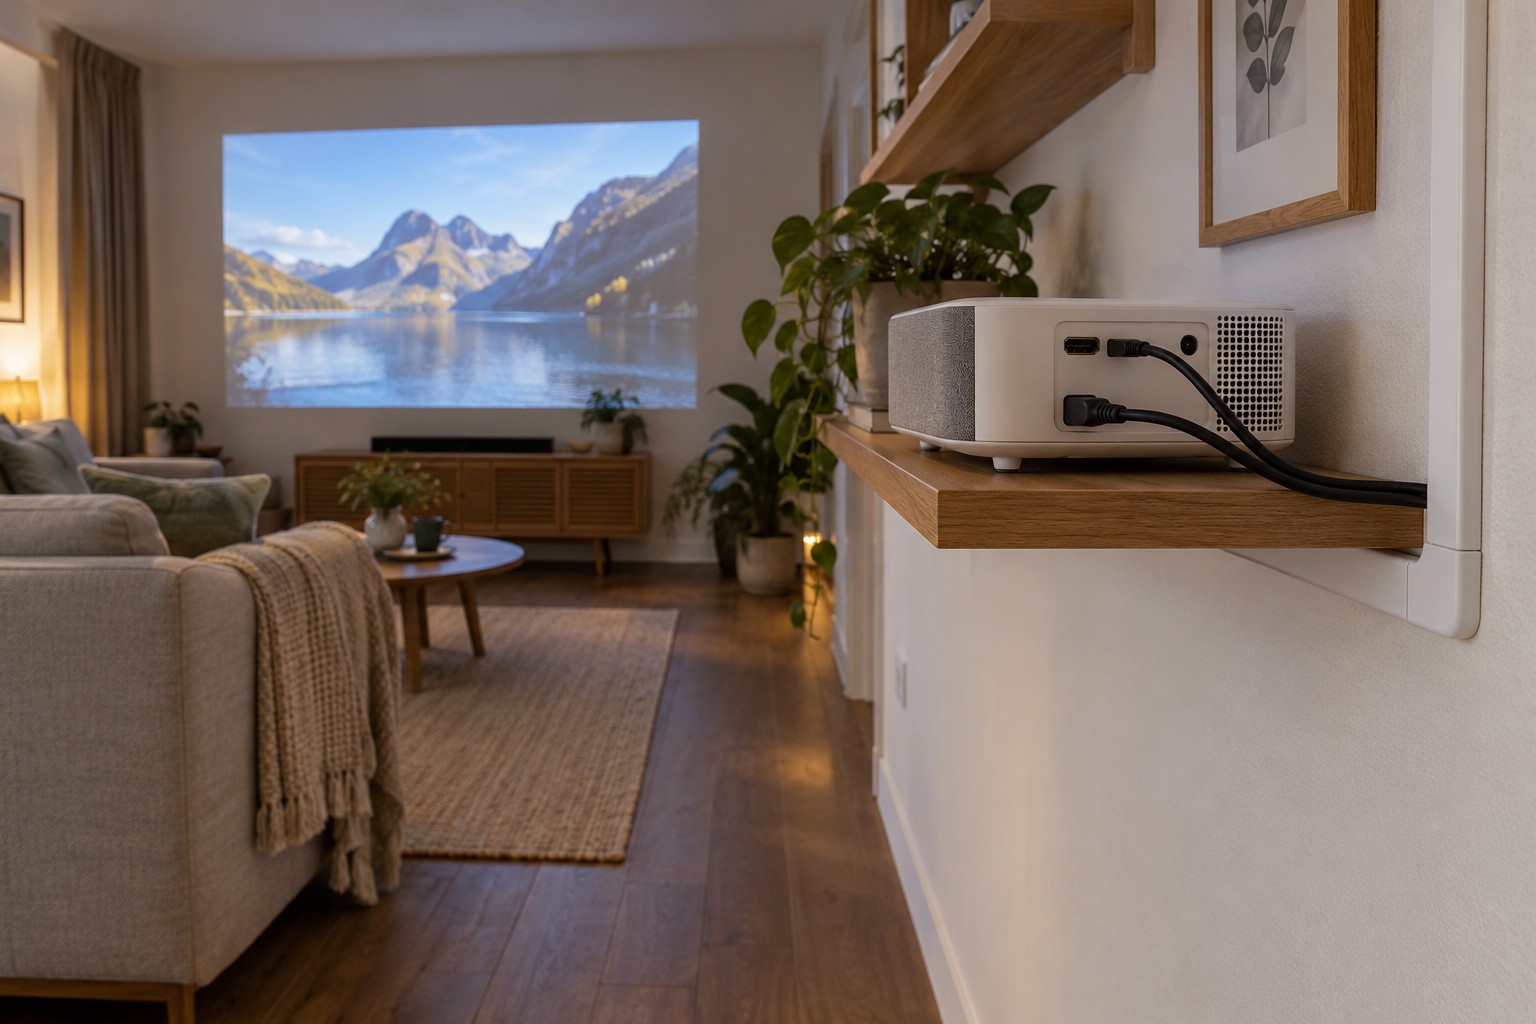
A ceiling-mounted projector often needs a longer connection than a television standing on furniture. The straight-line distance to the source is only part of the plan. The cable needs a safe, accessible route that does not interfere with doors, walkways or ventilation.
Draw the complete signal chain first: source, any switch or receiver, projector and sound system. Decide which device handles audio. If picture and sound take separate paths, make that deliberate so later delay or duplicate playback is easier to understand.
Define the required functions before buying
Record resolution, refresh rate and other picture features you actually use. The connection must support that combination over the planned distance. A general HDMI-version statement on a shop page does not establish the performance of a specific long cable together with adaptors.
Active or optical cables may have direction and power requirements. Their ends may be marked for source and display. Check before installation. A directional cable fitted backwards can appear correctly connected yet provide no picture.
Couplers, wall plates and extensions are part of the chain as well. If their capabilities are unknown, the whole route is uncertain. Avoid unnecessary transitions and test the actual combination rather than assuming separately suitable components guarantee success together.
Measure the real route
Measure along the planned path beside walls, furniture or appropriate trunking. Include the route from each socket into the channel and back to the equipment. Leave orderly slack for servicing and permitted bracket movement. A large loose loop in front of a vent is not useful spare length.
Respect bending radius and pulling limits. Sensitive active or optical leads must not be sharply folded or dragged by their plugs through difficult channels. Read the cable's installation requirements before putting it somewhere awkward to reach.
A passage must accommodate the connector as well as the cable diameter. Discovering otherwise after closing a panel can create unnecessary building work. Include future replacement in a permanent installation. Suitable accessible conduit or trunking may make servicing easier when properly planned.
Power is a separate consideration
Do not improvise fixed mains routing alongside data leads through arbitrary cavities. Cable type, electrical installation and separation requirements need professional assessment. Have new sockets and fixed supply wiring planned by qualified people. A loose extension across the room is not a permanent ceiling installation.
The supply connection should remain accessible without unsafe removal of the projector. Preserve its ventilation clearances and avoid attaching leads to hot or moving parts. The bracket must support the appliance; cables must not serve as improvised mechanical restraints.
Test before closing the route
Connect the source and projector using the full intended cable length and every necessary transition. Play familiar material at the required settings. Include power-on, source changes and a restart. A brief static picture is not a complete test of a demanding signal path.
If interruptions occur, simplify the chain. Remove an optional adaptor or switch and compare with a known suitable short connection. This helps separate equipment, settings and long-route problems. Do not immediately add more repeaters that introduce further dependencies.
Label both ends clearly and record the arrangement. Repeat the same functional checks after final routing, then close accessible covers. A good cable route is safe, serviceable and tested with the functions actually needed, rather than simply tidy in a photograph.
Consider how a later source change would work. A player currently on a shelf might be replaced by a console elsewhere. Accessible connection points make that change easier. Do not add hidden intermediate joints merely to anticipate every possible expansion, however: each extra transition also needs verification and a route for future inspection.
Keep a record of the cable model and its direction beside the equipment notes. If replacement becomes necessary, this identifies the original requirements without reopening the entire route just to read a small marking.