Preparing a room for a projector
Image area, throw distance, daylight and the beam path need to agree before you buy the equipment.
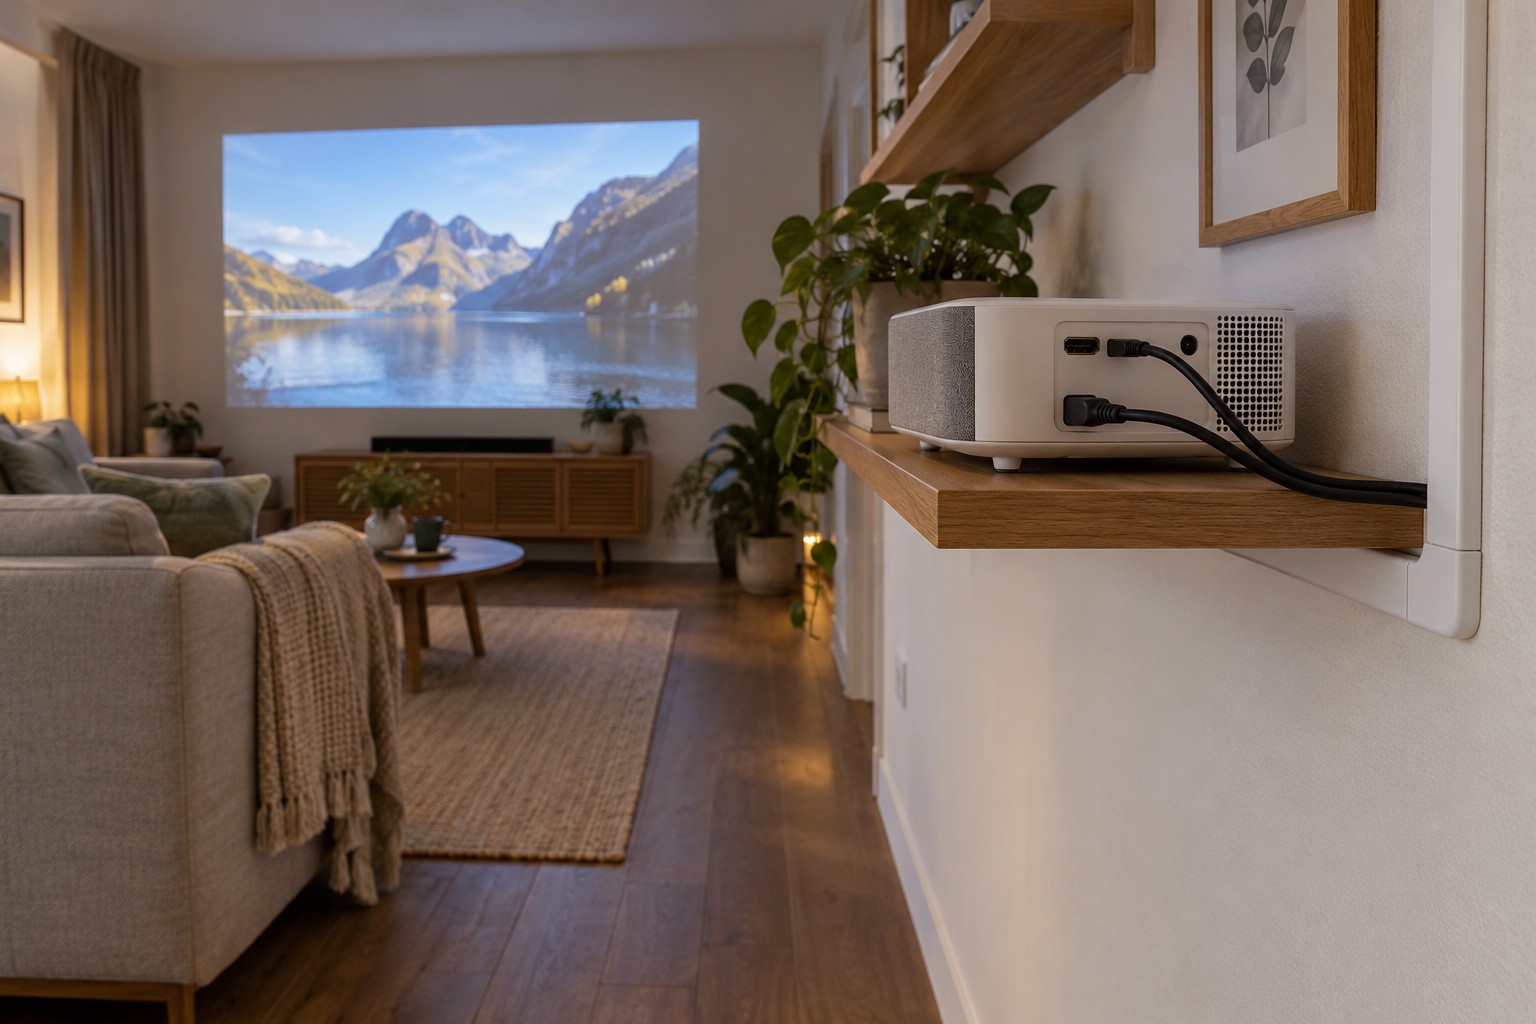
A spare wall is not enough to establish a useful projector setup. The device needs an appropriate distance from the image surface, stable support, clear ventilation and a beam path that people will not constantly interrupt. Plan the room as one arrangement rather than a collection of separate purchases.
Mark the genuinely available image area. Include doors, switches, pictures, furniture and any screen housing. Check the proposed lower edge from the seat. A very large image may extend too high or have its lower section obscured by a table.
Use the actual throw specification
Throw ratio relates projection distance to image width. Follow the manufacturer's definition, particularly the point from which distance is measured. Use the selected model's calculator or table. Substituting diagonal size for image width easily produces an incorrect result.
Check whether the lens has optical zoom. It may provide some positioning flexibility within stated limits. Short-throw and ultra-short-throw products require different distances and often precise alignment. Short does not mean any deep sideboard is automatically suitable.
For example, the desired width may require a position occupied by a doorway. You may need another projector, a smaller image or a changed room layout. Digital correction does not move the physical appliance or solve an obstructed mounting position.
Fix geometry before applying correction
Position the projector according to its intended optical arrangement. Improve a skewed image through correct placement and permitted orientation first. Digital keystone correction changes how the image is represented and is not an unlimited substitute for suitable placement.
If lens shift is available, check its actual adjustment limits and allowed combinations. Not every model provides it. Ceiling installation must match the permitted orientation, bracket and supporting structure. Have uncertain building or electrical work assessed professionally.
Plan the beam path as well. Will someone cross it whenever they go to the door? Is the lens at a height where a child could look directly into it? Follow the manufacturer's safety instructions and never look into the projection beam. A makeshift position on an unstable table is not a sensible lasting arrangement.
Assess the room at the time of use
Projection is strongly affected by light reaching the image surface. Check your intended viewing times: a weekend afternoon differs from a late-night film. Examine available shading, side lamps and bright reflective surfaces.
More advertised brightness does not remove every problem caused by an unsuitable lighting environment. A smaller image, effective blinds or differently aimed lamps may belong in the plan. Compare brightness figures only when their measurement methods are meaningfully comparable. Differently labelled marketing numbers do not support a precise ranking.
The surface matters too. A textured or coloured wall can change detail and colour appearance. A screen must suit the projector type and installation; specialised materials are not appropriate for every direction of incident light. Clarify that combination before permanent fitting.
Include sound, heat and access
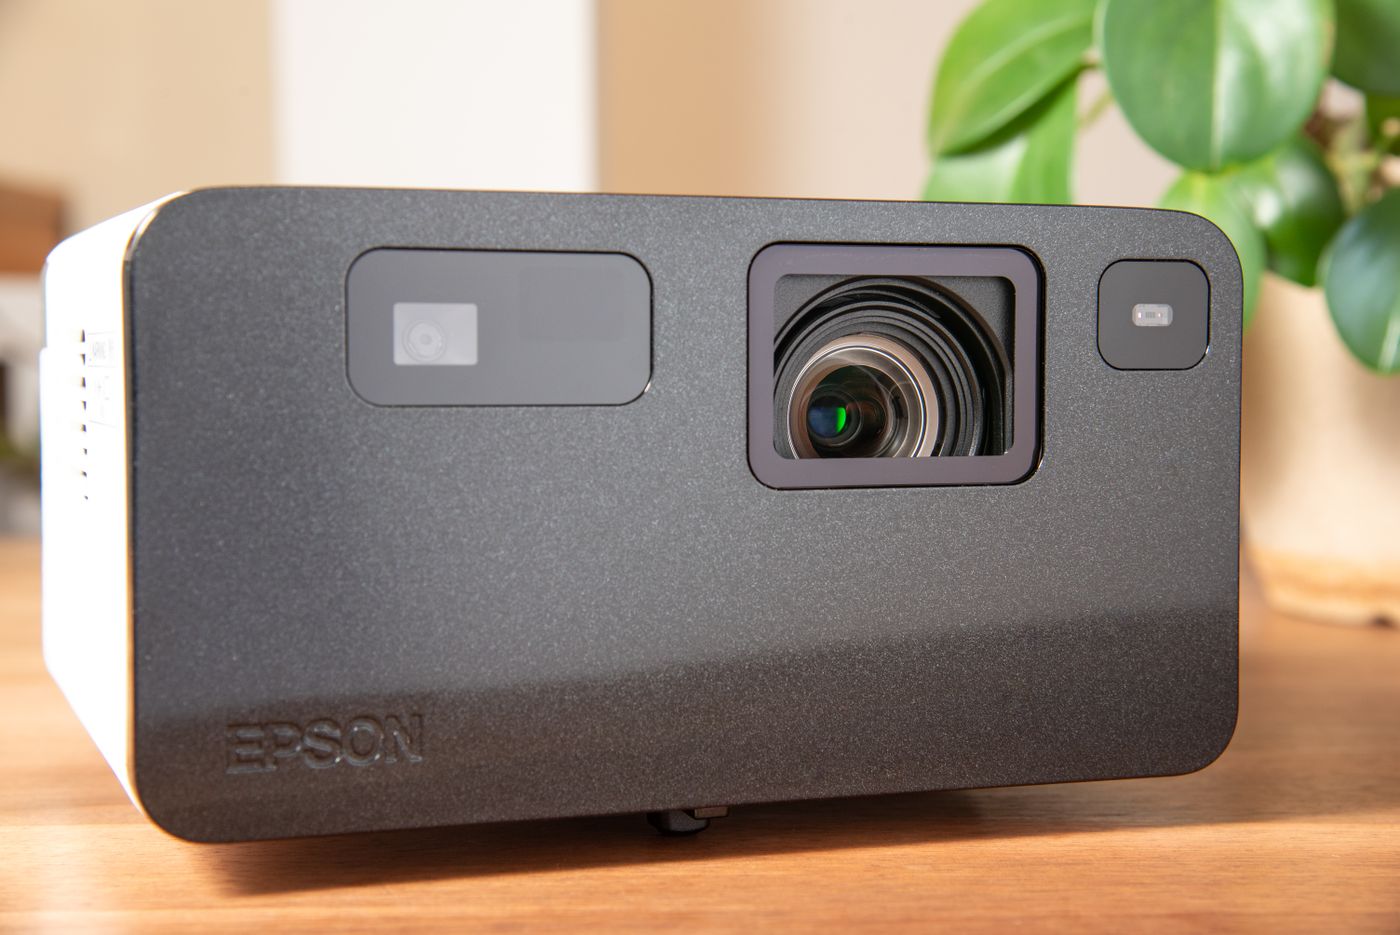
The fan may sit closer to viewers than a television's electronics would. Consider the normal operating mode and location relative to the seats. Do not hide the projector in a tight box to reduce noise. Epson's installation guidance stresses clear ventilation, with exact distances depending on the model.
Plan power, picture source and audio route together. An internal speaker may suffice for occasional use, while an external system adds cables or a supported wireless connection. Test picture and sound together so a later audio addition does not introduce unexpected delay.
Before permanent installation, run a complete trial in the intended position using familiar material. Check focus across the image, size, subtitles, fan sound, controls and connector access. Finalise cable routing and mounting only after those points work. The room is part of the projection system, not merely its background.